Friday 30 May 2014

What do you do when the fish bowl lid is the wrong colour?

Good evening folks.
It's been a manic week in many ways and my craft room has been rather neglected. I did however manage to get my bathroom re decorated which is a plus., I won't bore you with pictures, let's be honest, they're not the the most interesting  rooms to photo.
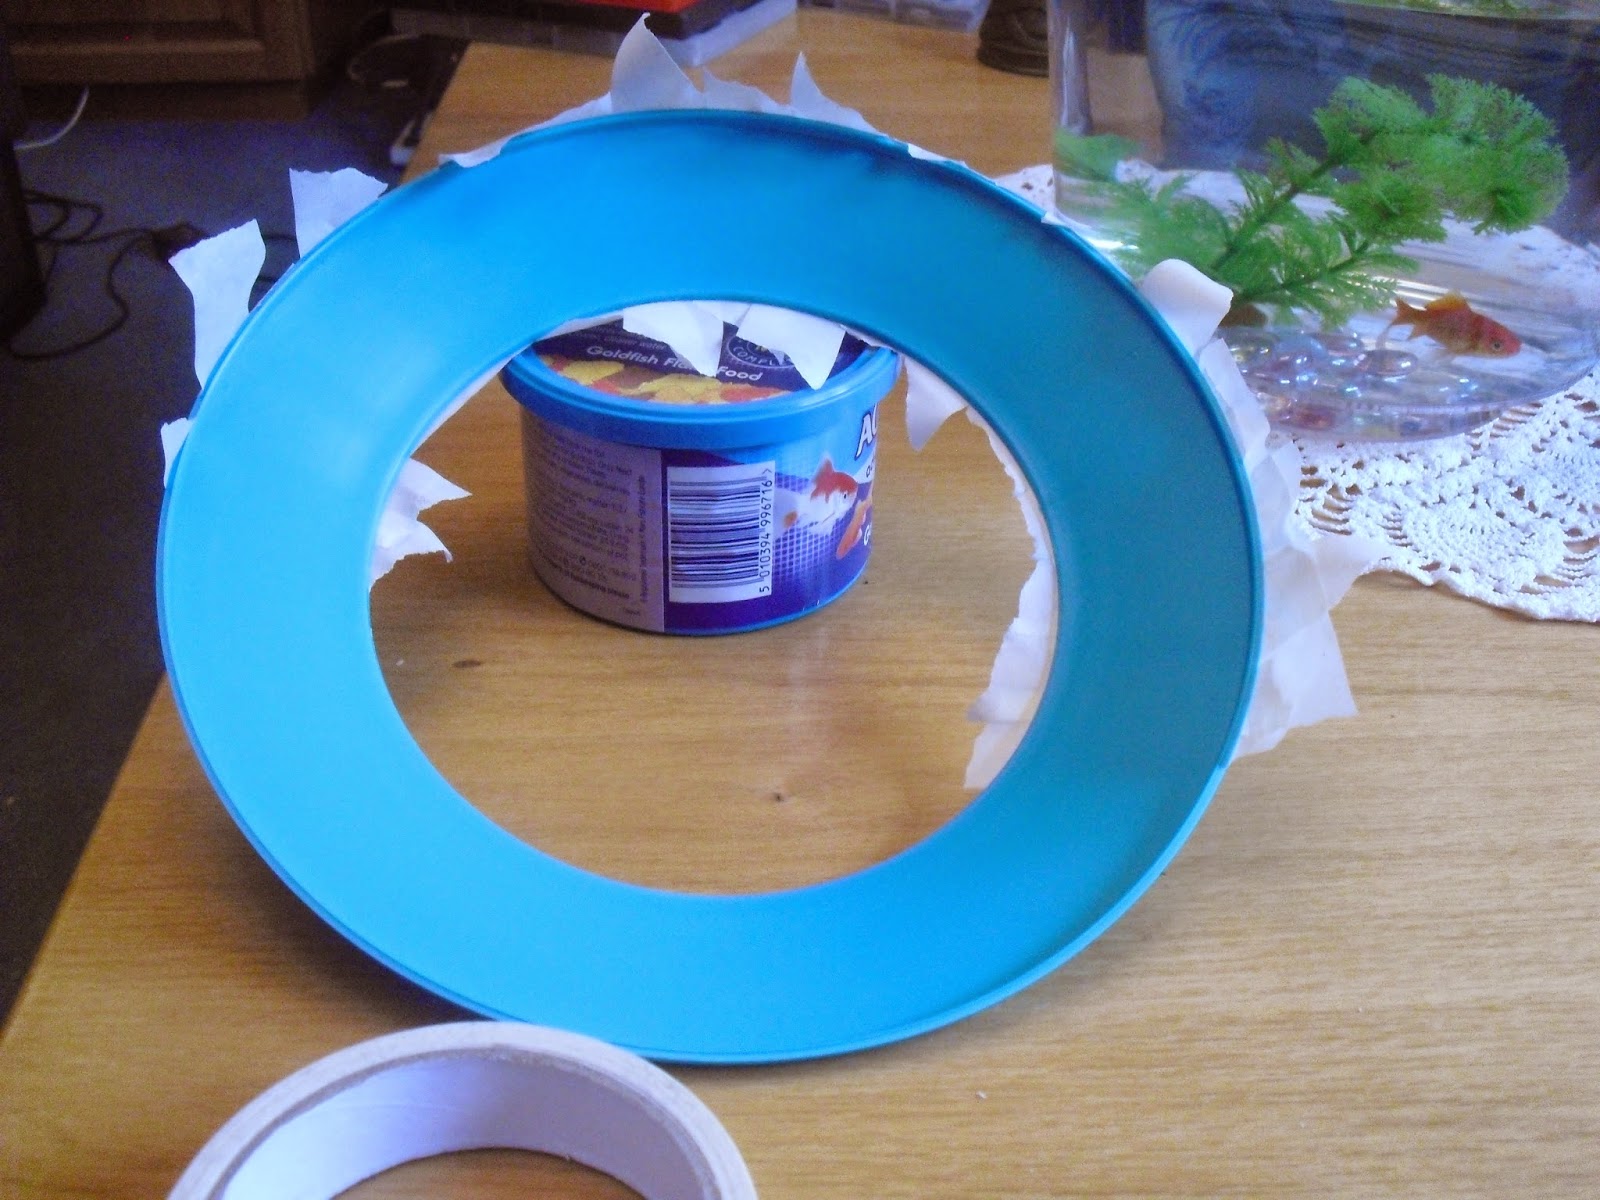
However, perhaps you recall the saga of "winning" a goldfish at the funfair a little while back? I'll be honest, I was surprised that he survived the week but as it has been a while now I'm kinda guessing he's here for a while so his bowl was irritating me and something had to happen. Now, I've actually done a bit of a step by step because, to be frank, you can do something similar on a box if you like the end result, which is this....


This is the original "lid" colour
 I covered the outside with strips of masking tape
 All the excess was trimmed away.
 Flat back adhesive pearls were added. (Tip: If you want to get an even placement without getting too fiddly, pretend you are adding numbers to a clock face. Start at 12 then do 6, swing to 3 and then do 9. You get the picture I'm sure)
 I couple of rows of smaller pears were added to add a bit more interest.
 The pearls got a thin layer of gesso to help give some tooth for the paint to hold and then everything was painted with Americana Deep Midnight Blue and left to dry.
 Next stage; take Americana Raw Umber, Traditions Transparent Red and Yellow Iron Oxide paints and stipple them onto the cover, I started with the transparent colours first, blending  them into each other
 Then I worked over with the Raw Umber.
 While it is still wet, Spritz with water
 and begin to "dab" it dry immediately (Dab as opposed to rub) This lifts some of the colour revealing the blue undertones.
 When dry, drybrush Americana Warm White to highlight the texture
 Seal with a matte aerosol sealer spay and then you are done, and it looks so much better, it even matches my vintage books beautifully (Which are from around 1879 and still in beautiful condition!)

 It was a fun thing to do and I really love how this combination of colours replicates aged metal so beautifully.
Right, I've a class in Eastbourne to pack for so I'll catch up with you later....take care and have some inky creative fun this weekend.

Wednesday 28 May 2014

WOYWW 260

Morning fellow deskers.
Wow, it is the 5 anniversary of this crazy fun midweek desk share, can you believe it? Unfortunately, with all that is going on I didn't get any extra ATC's made but I could not miss marking the date with a single one for the swap. Good luck finding it on my desk...........

 Chaos zone again, I have had to dump everything there as I have been remiss in packing away and I needed to get it out of the house ASAP......
 Recent makes, new class samples and bits dumped on layers of paper, tyvek and the important calender too.......
 Need to get this wrapped and packed away so it doesn't get damaged,
 Just been perusing my journal, looking for something, didn't find what I was looking for but just left it open here.
Lastly, in the house still waiting to be moved down to the shed, boot fair bits, frame, embellies, chells and little plastic figures.....
So there is my mad world today. Neglected due to me trying to get the bathroom re decoration finished.
Happy  5th anniversary WOYWWers, may there be many more. See you over at Stamping Ground.....

Tuesday 27 May 2014

Having an interesting day.....

Good evening folks
I trust that you are well. It's been a dull and rainy day here today, which has been irritating because I'm re- decorating my bathroom and it is taking forever to dry so it's taken a lot longer than I hoped to do. Hopefully tomorrow I'll get farther along and will  be able to steal into my craft room for a bit.
While I was doing that, my wife decided to have a bit of a play around and made some cookies.........Well, we had laughter, frustration, tears and some very unladylike mutterings along the way to get to this


 I think they are pretty and cool. She stole my new bird stamp (No, I hadn't used it yet LOL) and they taste good too.

A different kind of crafty, don't you think? Also I have a project I'm sharing over at The Craft Barn Blog. I would love it if you nipped on over for a closer look HERE

Enjoy the rest of the evening folks, see you in the morning.

Monday 26 May 2014

Calico Crafts and a bit of beach time doodling

Good morning folks
I hope you are well and if you are here in England that you are enjoying the Bank Holiday. Yesterday Susan and I took advantage of the sunshine and meandered our way through the day, starting off at a boot fair in the morning before heading off down to Eastbourne via Friston Forest for a picnic lunch.

 We then headed off to Birling Gap with the thought of stopping there for a while, too crowded and didn't feel like struggling to find a place to park so detoured past Beachy Head and into Eastbourne where we stopped off for a bit of a mooch before heading down and parking off at Pevensey Bay for the rest of the afternoon and evening.
 Feeling the need to scribble, and not letting the fact that I'd forgotten to bring a journal with me deter me; I wander the beach and picked up a few scraps of wood to doodle on.
 This is the first one, kind of weird looking dragon thing, but hey, you can't really rub anything out with pen and driftwood you know.....
 Piece number two in progress, includes a rather weird looking "seahorse", though perhaps original is a kinder word lol.
So, all in all, an interesting and fun day.

Lastly, but by no means least,  I'll leave you with this sneak peek of my second guest project I'm sharing over at Calico Crafts today.
If you follow THIS link, it will take you to the post where you will find full details, and lots of photos. I'd love to see you there. Right I'm off, have a fun day folks!

Friday 23 May 2014

Just playing

Hi there.
Last night I was just sitting and doodling in my journal. I had no plan, nothing really profound to express but the end  result was this.
 The background was just a mop up of excess stuff from my craft mat, just pretty random. On the right the page has a cut away edge from the next page so I started doodling around the edge to give a defined border.
 The birds were doodled with Dylusions ink in a fillable brush and I detailed them afterwards with pens.
 The leaves were also just doodled though I like then very much (I feel a new stamp coming along LOL)
To finish, I thought I'd better write something so I scribbled the One day I'll fly away in both black and white pens. The junior (the little cheeky B*&^%$er) asked that important question "How? You have no wings." Really, the youth of today, no respect.........
Hope you all have a good and creative weekend ahead.

Thursday 22 May 2014

Flipping Stamps -

Good afternoon friends
I hope that this finds you well. I thought I'd share a quick little step by step today. Have you ever looked at your stamps and thought "That would be perfect if it was facing the other way"?
Well, a little while ago I was just sitting in the studio and I had an "I wonder if....... " moment with regards to gesso transfer so thought I'd give it a try.
Luckily I took some pics along the way so here is my step by step for transferring a stamped image using Gesso.
One thing to note before we begin; this technique is not going to necessarily give you a crisp image so it will suit a more shabby faded look.
Shall be begin?

 Start by stamping your images in Black Archival ink onto light card or paper. For my experiment I used a couple of my Bird stamps and Kiki and Franswaer. Once stamped cut them out and pop to one side.
 Take a piece of chipboard (Though you could just as easily work in a journal, book cover or prepared box I'm sure)
 Cover the chipboard with a thinnish layer of gesso(It needs to be thin but still wet when you put the images down onto it. (Experimentation is the key) Lay your images down into the wet gesso and press down firmly. Now you need to leave it to dry thoroughly, preferably for a few hours.

For the next stage I forgot to take photos but it is clear enough. Spritz water onto the card and begin to rub the card away until you begin to see your image appear, keep applying water and rubbing but keeping it pretty gentle until you are happy with the result and have removed most of the paper away. (Don't throw the resulting soggy mass of rubbed away card into the sink but into the bin otherwise you run the risk of blocking the sink.)

 Once you've finished that you can add colour. As you can see, I cut my pieces out into individual pieces, I added a wash of paint (Traditions) and sprinkled some salt on and left to dry. When dry I rubbed off the salt and was left with a lovely textured image.
 You can see more detail here. Now you've done that, what to do with it? I did this......

 I worked on the images by adding some Tissue tape and stamping to fill in gaps and edged them with Distress ink. I then added a layer of Triple thick glaze (word of warning here; I thought I'd messed everything up as the glaze reacted with the salt and went all cloudy! Fortunately it cleared up after a couple of days but if you do this kind of salt technique just try to take off as much of the salt with a damp cloth before glazing, or don't use glaze!)
 I decided to add the tiles onto a shabby journal cover I had done. I thought they suited the style and tied in nicely with the shabby look.


I think it's a fun way of playing around with your stamps to create something a bit different. I think it would look pretty cool if you took a piece of card and did the gesso transfer on one side and then stamped the same image on the dry gesso on the other side, I just haven't got round to trying it yet.
What do you think? I'd love to see the results if you give it a go.
Enjoy the rest of the day and I'll catch up again soon!

Wednesday 21 May 2014

WOYWW 259

Good morning folks.
Desk sharing time again! Well; I'm back in a huge mess after deciding I need to work on 4 different things at once! I do sometimes wonder why my inspiration can't form an orderly queue at the door and come in one by one.....
Never have these words been more true in my life; " I'm creative, you can't expect me to be tidy too"

 First, the arty "blurred shot" you know, the one you didn't know was blurry until you up loaded it.....
 New additions to the family. Volume 3 of the Compendium. Loving the mask!
 I couldn't resist this roll of Da Vinci paper too though not sure exactly what I'll do with it yet.
 The book from Sunday's class waiting patiently for the finishing touches......
 Then, I have finally started to work on a "cupboard" bought about two years ago! Just playing with ideas at the moment and doing an aged metal background.
Lastly, just been cutting a pile of Frameworks ready to use as and when needed. So that's my work place this morning, plenty more can be found at Stamping Ground so why don't you join the party? Take care folks and I'll see you soon.

Tuesday 20 May 2014

May tag for 12 tags

Good morning friends and thanks for dropping by.
Last night I was pottering around in the shed. It was one of those evenings where I couldn't quite get going so I decided to make a start on Tim's May tag.  All the details of Tim's can be found HERE and this is my take

When I first saw the tag, I was unsure about whether I liked it or not especially since I didn't have any of his patterned papers, and having to actually use my precious Idea-o -ogy! Does the man realise how expensive it is here in England? Then, I don't have the lettering embossing folders... well you get the idea I'm sure.
I have to say that I am really happy with my finished tag though, so shall I walk you through it?

 I gathered some supplies. I decided to use an embossed tag as my base. For my tiles I decided to use Motif card. I LOVE this stuff.
 As I didn't have the drop lettering folder I used part of a stamp from the Random quotes plate to stamp Remember in black Archival. You can see how the addition of colour really starts to transform and bring the card to life!
 As I didn't have the metal oval Tim used but I really like the effect I used a book plate and a butterfly die cut and painted them with Pewter Distress Paint.
 So you can see everything coloured up on the left. For the base tag I covered it with a layer of Peeled Paint Distress Stain and dried. I then dabbed some Vintage photo Stain as seen.
 and added a spritz of water to move and blend the colour.
 To detail the book plate and butterfly I dabbed some stain on and dried with a heat gun. I stamped some script onto the butterfly and then gave both a layer of clear UTEE.
 The tiles were all edged with Distress ink (Gathered Twigs) and then it was time to layer everything up. I added the tiles with 3d foam tape and used double sided tape to adhere the other elements to them.
I sanded the token to highlight the raised areas. The star charm and bird I've been hanging onto for a while now. The arrow is from the Industrial stickers. I like the way that the Motif card keeps continuity through the tag and all the embellishments have silver running through which also keeps a flow and ties everything together

To finish I threaded some burlap braid through the top and tied it with a piece of brown string. So there you have it, my take on the May tag. I hope you like it. Now to go and link it to the party!